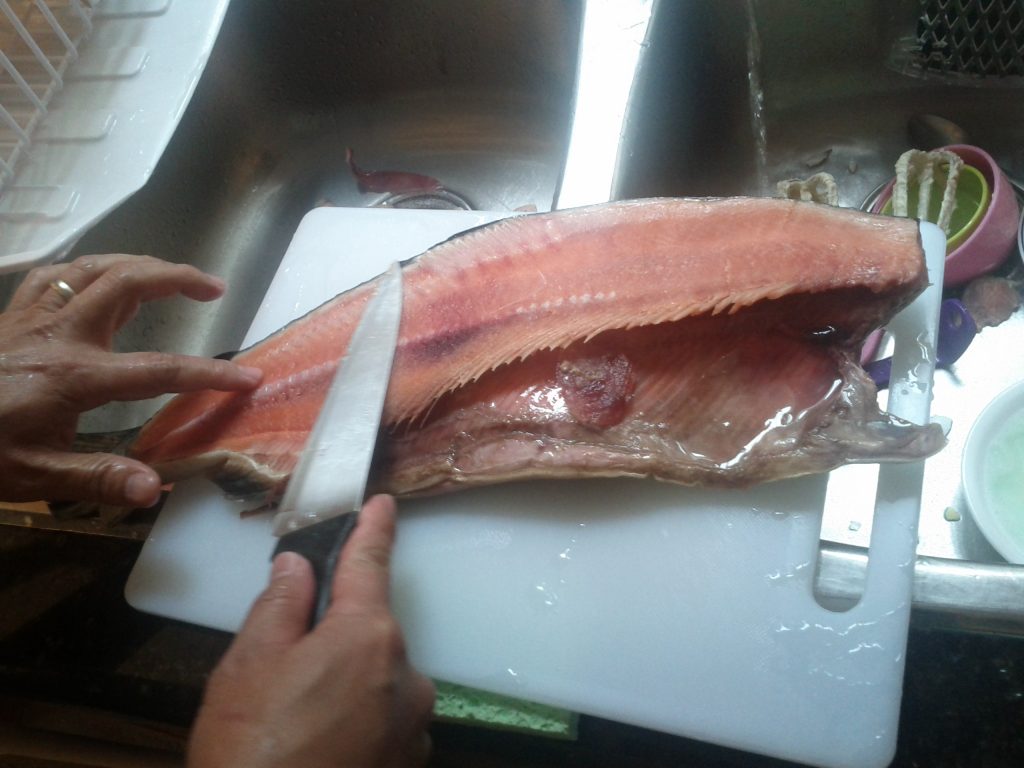
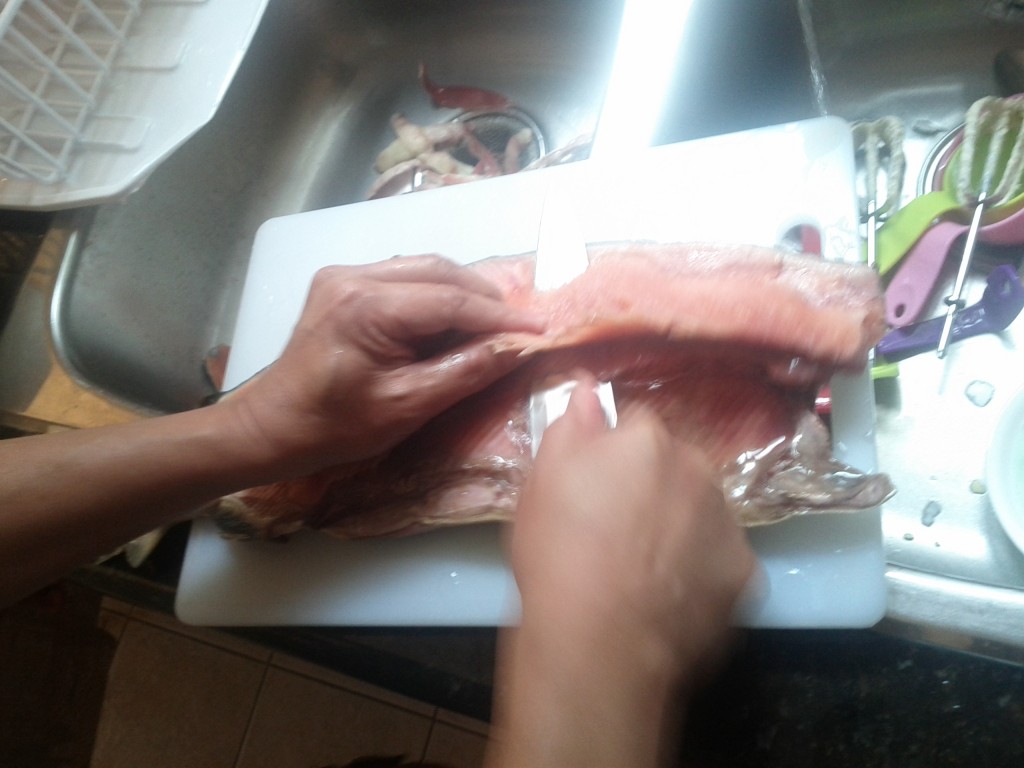
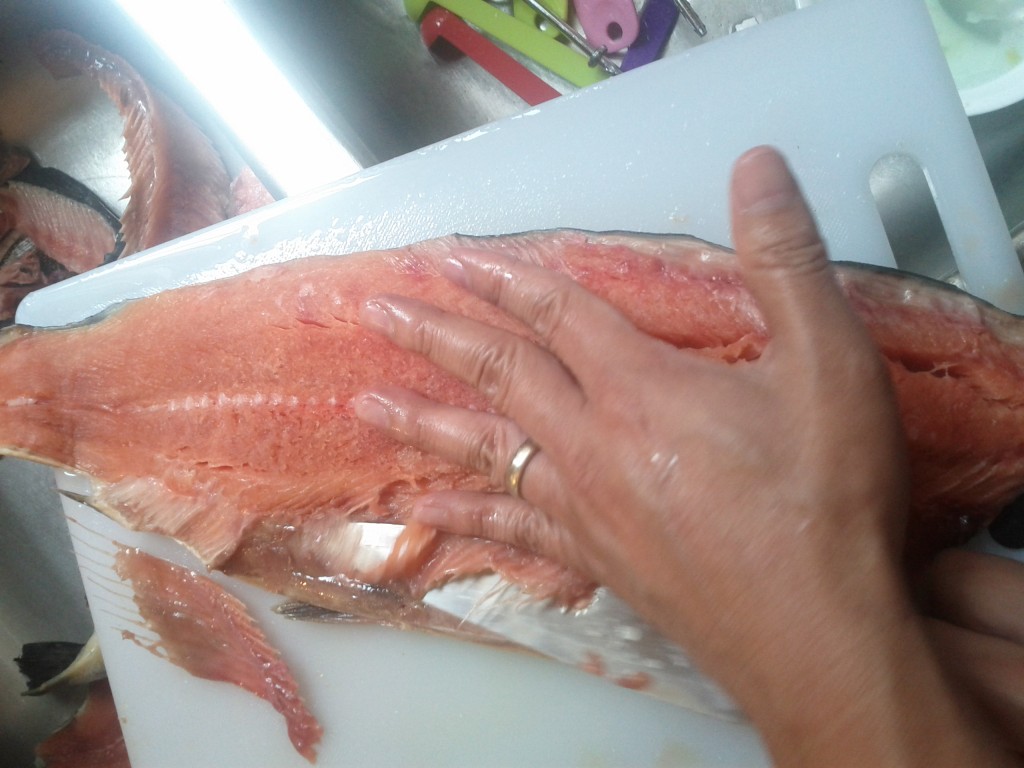
Fish is great. I love fish. But buying a fillet of salmon gets expensive! At the stores where I shop, a serving of salmon fillet costs around 4 dollars. But, you can buy a whole salmon when in season for a measley $10, yielding 6 or 7 large servings. But WTF are you supposed to do with a whole freaking salmon? You butcher it of course! Here’s how.
First, get your working area ready. You need a large cutting board, a rag or sponge and a very sharp knife. If you have an actual fillet or bone knife, that’s great, but you can use a chef’s knife as well. Place your cutting board by the sink and keep the rag handy, otherwise you’ll have a very fishy smelling kitchen!
I’m going to assume you bought a salmon that has been at least gutted. (Gutting is a relatively simple task, but I’m not going to cover it in this post – see this link for instructions!) It might have the head still attached and it might not. That’s okay! If the head is still attached, just cut it off by making a v-shaped cut horizontally into the fish. If you want a skinless fillet, now is the time to de-scale the fish. [Tip: De-scaling while running a low trickle of water will help keep the scales from flying everywhere!]
There are three “bony” regions to keep in mind: the spine, the set of bony ridges projecting from the ventral (bottom) surface, and the set of bony ridges projecting from the top (dorsal) ridges. We’re going to remove these areas in parts. Looking at the section where the head used to be, you should be able to see the spine. If you cannot, make a deeper cut. Once you’ve identified the spine, the fun begins!
1. First, you want to angle the bottom of your knife flush to the top surface of the spine, almost horizontal to the fish but tilted slightly upwards so as to avoid the top ridge of bones. The front (head end) of the fish should face your knife-wielding hand and your off hand should be used to hold the fillet as you cut. Gently slice through the fish from the head to the tail, always keeping your knife flush to the spine. As you cut, you may feel the knife moving through the bony ridges. You’ll end up with parts of the top and bottom bone ridges, but that’s okay, we’re going to remove them later.

2. Set the top fillet aside so that you can work on the bottom fillet. Now, we are going to cut out the spine. Set the knife just underneath the spine so that the top of the knife is flush to the bottom of the spine. With one hand gently lifting the bones up, again cut through the fish from head to tail, removing the spine. You’ll end up losing some meat, but that’s to be expected. Again, you may feel the knife moving through the bony ridges as you cut. Now you have two fillets that just need to be trimmed.

3. To trim the dorsal and ventral ridges, start with the ridge closest to your body and angle the knife towards you.Use your free hand on top of the spines to guide the knife underneath. Like before, we want the top of the knife to be flush with the bottom of the spines. When you’re finished, rotate the fish and do the same for the other side. You may have to make more than one cut on each side to remove all the spines, and that’s okay! It’s better to make several smaller cuts than one big, uncontrolled cut.

4. Now, you’re basically done! Just check the fish for any remaining bony bits and cut them off.
Optional:
5. For a skinless fillet, simply lay the fish skin down and angle the knife as flush to the skin as you can. Start from the head end and work the knife through the fish while gently lifting the filet with your free hand. Ta-da!
I actually like to leave the skin on side of the fillet because it protects the fish from drying or sticking to the pan while cooking.